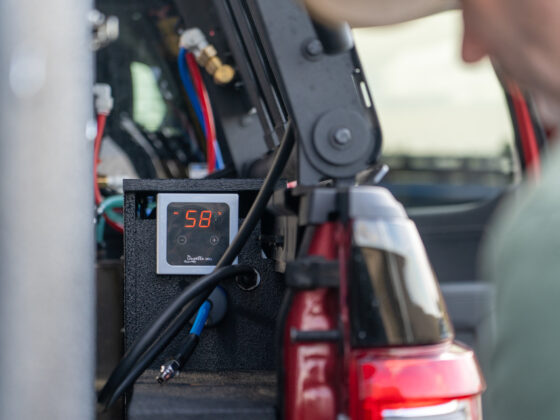

Solar power really shouldn’t be this confusing. You use electricity while camping, your solar panels replace it, and your battery stores enough to get you through the night. Simple.
Then you start researching a setup and suddenly you’re dealing with watts, amps, amp-hours, watt-hours, MPPT regulators, peak sun hours and panel efficiencies. Before long, keeping the fridge cold starts feeling like an electrical engineering degree.
The good news is that working out how much solar you need for camping is easier than it looks. Forget how much panel you can squeeze onto the roof for a moment. The first thing you need to know is how much power you actually use.
Start with your daily power consumption
The easiest way to size solar is to work in watt-hours, or Wh. It gives you one common measurement for everything in the system.
If something draws 40 watts and runs for five hours, it uses 200Wh. Do that for each major appliance and you can quickly estimate your daily consumption.
A typical touring setup might look something like this for any given day:
| Appliance | Approximate daily use |
|---|---|
| 12V fridge | 350–500Wh |
| Camp lights | 30–60Wh |
| Phones and tablets | 50–100Wh |
| Camera/drone charging | 50–150Wh |
| Water pump and miscellaneous loads | 30–60Wh |
| Starlink Mini, four hours | 80–160Wh |
| Starlink Standard, four hours | 300–400Wh |
Don’t simply look at the maximum wattage printed on your fridge and multiply it by 24 hours. The compressor cycles on and off, so average consumption is considerably lower. Hot weather, frequent opening and running a second zone as a freezer can push consumption much higher, though.
For a basic fridge-and-lights setup, you might only use 400–600Wh each day. A well-equipped touring vehicle can easily use 800–1200Wh, while Starlink, induction cooking and regular inverter use can push that figure much higher.
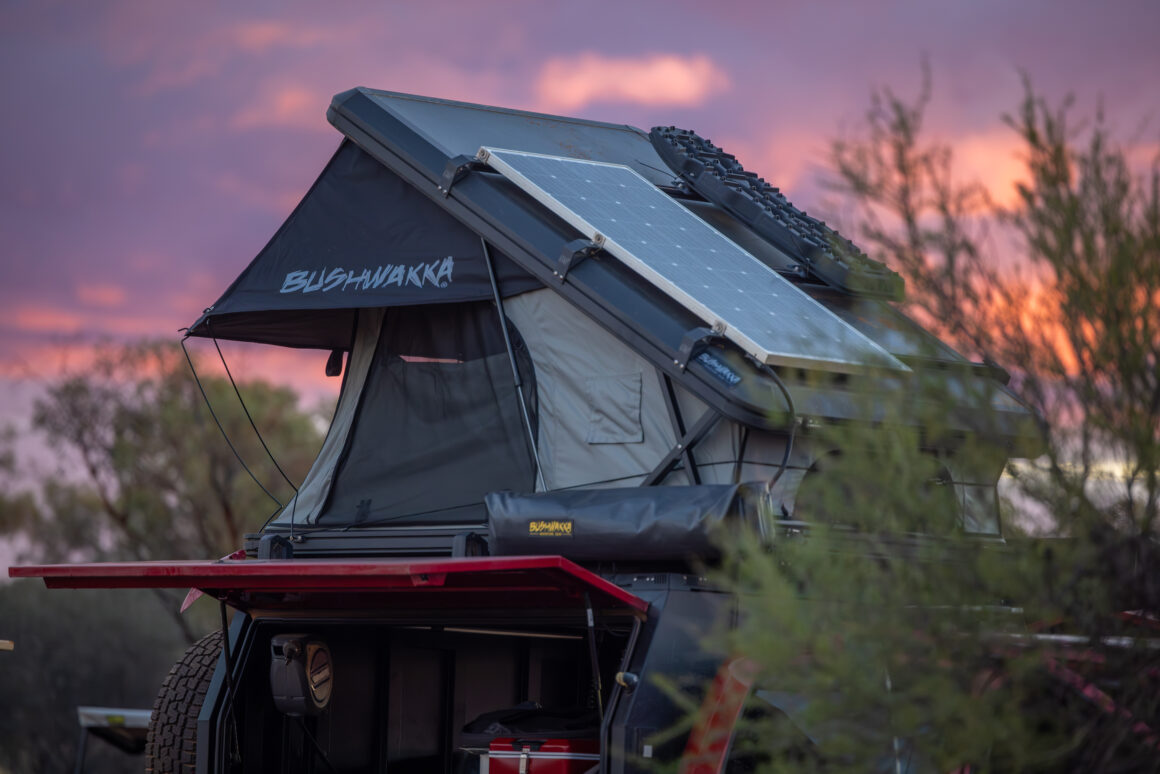
Now work out how much solar replaces it
Once you know your daily use, the basic calculation is simple:
Daily power use ÷ peak sun hours = required solar capacity.
Let’s say your setup consumes 800Wh each day. If you work on four peak sun hours, the calculation looks like this:
800Wh ÷ 4 = 200W of solar.
Peak sun hours don’t mean you only get four hours of daylight. They’re a way of converting the changing intensity of sunlight across the day into an equivalent number of hours at full solar output.
Four hours is a useful conservative planning figure for general Australian touring, but location and season matter enormously. Southern Australia in winter can deliver considerably less solar energy than northern Australia in summer, so regular winter travellers should size their system more generously.
You also shouldn’t rush out and buy exactly 200W of panels just because the maths says 200W. Heat, cloud, dust, shade, panel angle, wiring and regulator losses all reduce real-world output.
Allowing roughly 30–50 per cent extra capacity turns that theoretical 200W requirement into around 260–300W. If the space and budget were available, we’d rather fit 300W and have some breathing room.
Your battery size doesn’t determine your solar
One of the most common questions is: “I have a 200Ah lithium battery. How much solar do I need?”
Battery capacity alone doesn’t tell us much. Your battery determines how much energy you can store, while your solar determines how quickly you can replace what you consume.
Someone running a fridge and camp lights could make a 200Ah battery last for days. Another camper running Starlink, cameras, an inverter and induction cooking could chew through the same battery surprisingly quickly.
Think of your battery as a water tank and your solar panels as the tap filling it. A bigger tank gives you more reserve, but it doesn’t change how much water you use each day.
Battery chemistry also affects that reserve. A 200Ah lithium setup generally gives you considerably more usable capacity than an equivalent lead-acid or AGM bank, although your daily solar requirement remains tied to what you consume.
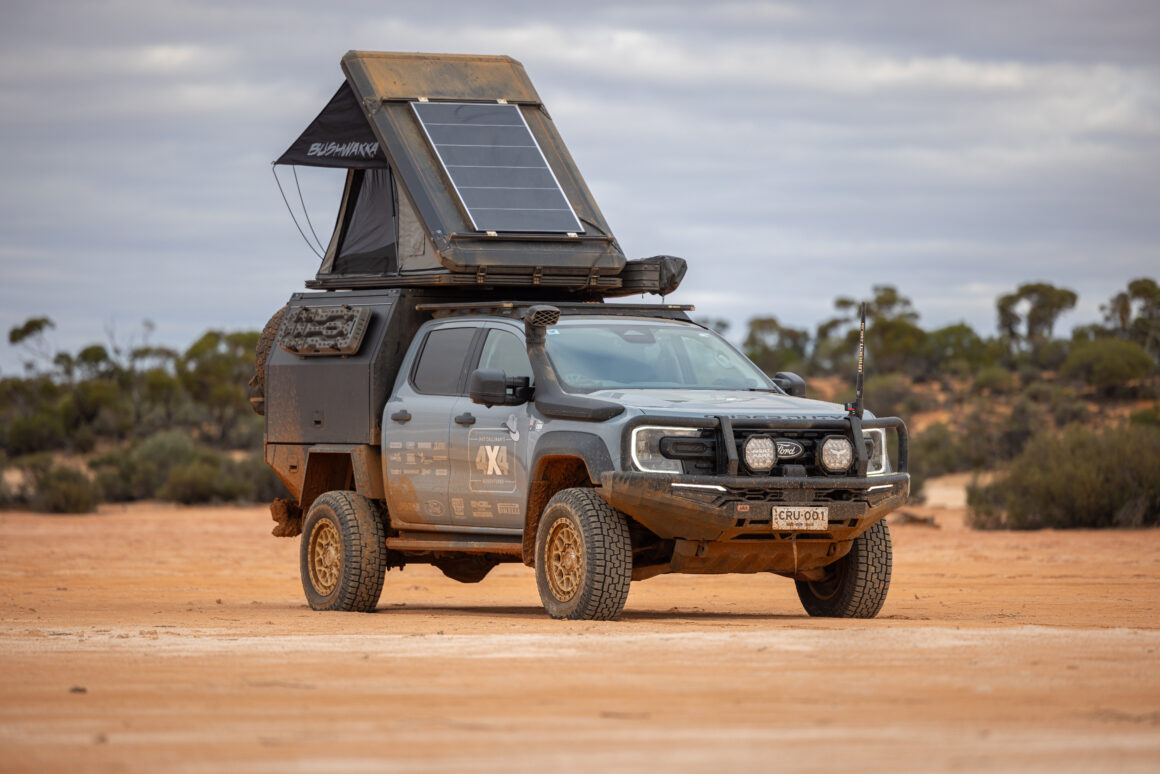
So how much solar do you actually need?
As a rough starting point, these figures should put most 4X4ers in the ballpark. They assume around four peak sun hours and include some allowance for real-world losses.
| Touring setup | Daily consumption | Solar starting point |
|---|---|---|
| Fridge, lights and phones | 400–600Wh | 150–200W |
| Typical touring setup | 700–1000Wh | 250–350W |
| Heavy touring with Starlink | 1200–1800Wh | 400–600W |
| Regular heavy inverter use | 2000Wh+ | 650W+ |
Treat these as planning figures rather than hard rules. Where and when you travel matters just as much as what you’re running.
Fixed panels or portable solar?
Roof-mounted solar is brilliant because it works without you thinking about it. Your batteries can charge while you’re just sitting around camp.
The downside is that fixed panels spend their lives lying flat. That’s convenient, but it isn’t always the best angle for the sun, particularly during winter when the sun sits lower in the sky. Park the vehicle under a tree and output can drop further again.
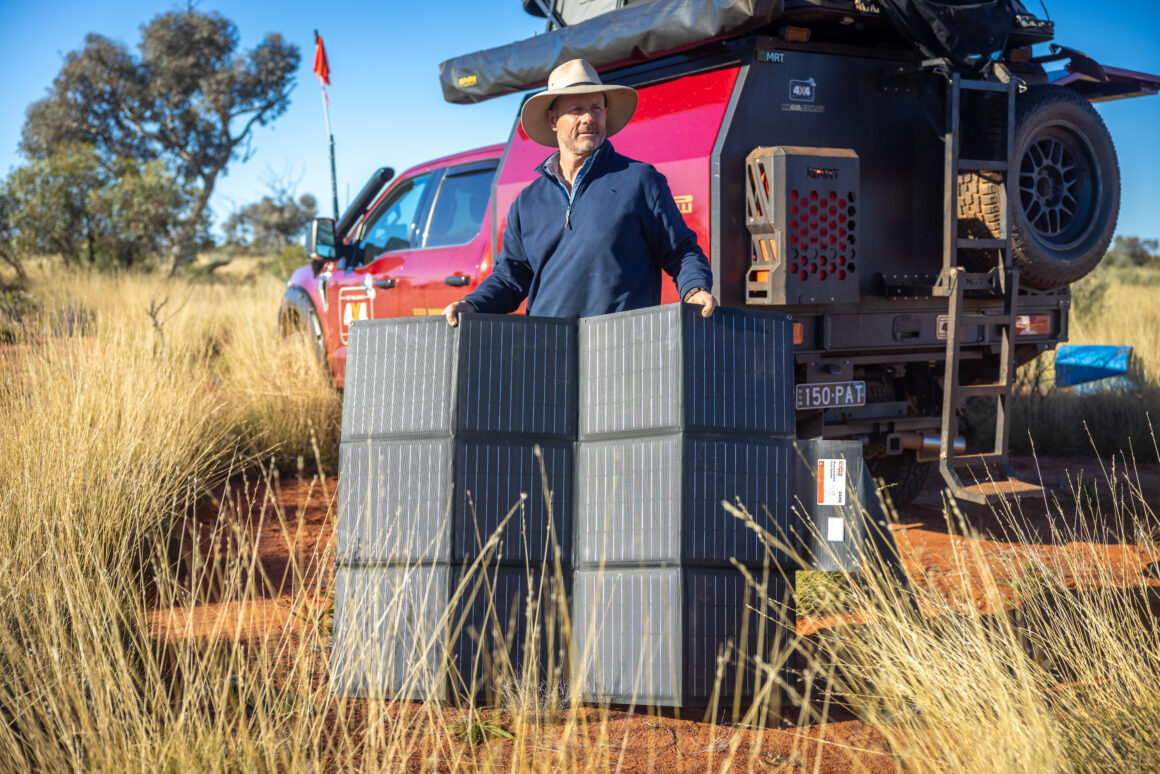
Portable panels or solar blankets let you leave the vehicle in the shade while positioning the panel in direct sunlight. You can also angle them towards the sun, which can make a meaningful difference when conditions aren’t ideal.
For a serious touring setup, a combination of both makes plenty of sense. Fixed solar handles the background charging, while a portable panel gives you extra capacity when you’re parked up for several days.
Don’t forget the regulator
There’s nothing wrong with fitting more solar than you theoretically need, but the rest of the system needs to handle it.
Your MPPT regulator has limits on panel voltage, current and charging output. Some systems can safely run more panel capacity than the regulator’s maximum output because the controller simply clips excess production, but you still need to stay within the manufacturer’s electrical limits.
So before adding another panel to the roof, check the regulator specs as well. More solar only helps if the rest of the charging system can use it safely.
A DC-DC charger also gives you another useful source of energy while driving. For touring vehicles that move regularly, alternator charging can take plenty of pressure off the solar system during poor weather.
Size for the real world
The biggest mistake when working out how much solar you need for camping is designing everything around the perfect sunny day.
Work out roughly how much energy you use every 24 hours, estimate the realistic solar conditions where you travel, then give yourself some headroom. If your calculations say you need 250W and you can comfortably fit 300W or 400W, the extra capacity is unlikely to be something you regret.
Solar sizing doesn’t need to become complicated. Use what you consume as the starting point, build in a sensible margin and make sure your battery and regulator suit the system.
Then forget about the maths and get back to camping.