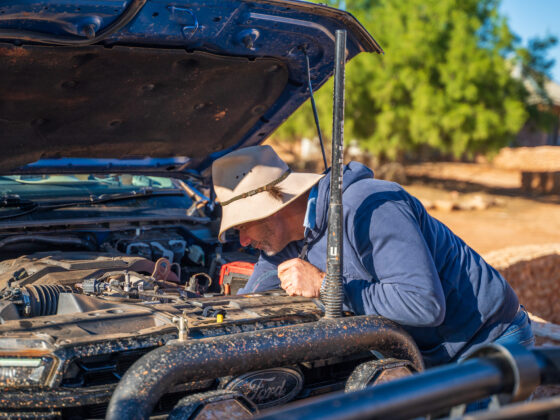
We’ve said it before, and we’ll say it again, visibility is king when you’re towing off-road. Whether it’s a camper, a caravan, or just a trailer full of dirt bikes for a weekend away, being able to see what’s going on down the side of your rig is non-negotiable. So before our new Ranger Tremor sets off to film Season 18, we’re bolting on a set of Clearview Next Gen towing mirrors.
Here’s how you can do the same thing at home with a bit of patience, the right tools, and a spare 20 minutes.
What You’re Installing
The Clearview Next Gen mirrors are a direct replacement for your factory units, no bodgy clamp-on arms, no rattle-prone universal mounts. They bolt straight into the factory holes and plug into the existing wiring. If your 4X4 is decked out with 360 cameras or any other fancy tech there’s provisions for that too.
You get:
- LHS and RHS mirrors with bases
- A replacement lower access panel for the left-hand side
- A full fitting guide
- All the factory-style features like indicators, power adjustment, and folding (depending on your model)
Tools You’ll Need
- Torx 20 & Torx 30 screwdrivers (or bits with an extension)
- Small flat-blade screwdriver
- Phillips-head screwdriver
- Trim removal tool or soft plastic pry bar
- An S-hook to hang the door trim
- A mate (optional, but helpful)
Let’s Get Into It

Step 1: Power Down
- Put the shifter in park, drop your windows, kill the ignition and disconnect the battery. Don’t skip the battery step. These mirrors are powered, and you don’t want to short anything out.
Step 2: Start Stripping
- Use your trim tool to pop off the little triangular panel in the front corner of the door window. Keep those clips!
- Pop the plastic grommet out of the door to reveal the top mirror bolt.

Step 3: Off With the Door Trim
- Pry off the plastic surround behind the inside door handle and remove the two Torx 20 screws hiding behind it.
- Remove two more screws along the bottom edge of the door trim.
- Grab the bottom of the trim and start popping it off. Hang it from the door using your trusty S-hook.

Step 4: Unplug the Factory Mirror
- You’ll see the wiring loom for the mirror tucked behind the door frame. Disconnect the black multi-pin plug using a flat-blade screwdriver to pop the tab.
Step 5: Remove the Old Mirrors
- Remove the three Torx 30 screws holding the mirror on. Have your hand on the mirror while doing this so it doesn’t go crashing to the floor.
- Tilt the top of the mirror out first, it’s hooked in at the top.
Pro tip: Keep your factory mirrors in a safe spot. If anything ever happens to the Clearviews, you’ve got a Plan B ready to go.

Step 6: Salvage the OAT Sensor (LH Only)
- On the driver’s side (in Australia), the Outside Ambient Temperature sensor lives inside the mirror.
- You’ll need to remove it with a gentle hand and a small screwdriver. The little clip holding it in is very fragile so don’t rush it.
Step 7: Unbox the New Hotness
- Get the new Clearview mirror and lower access panel out of the box.
- Make sure the rubber gasket is properly seated—this seals the base to the door.
IMPORTANT: Extend the mirror to the mid position before fitting it. It makes the whole process easier.

Step 8: Fit the New Mirrors
- Hook the top corner of the new mirror base into the door recess, then tilt and push it into place.
- Thread in the three Torx 30 bolts and torque them up to 11Nm. No need to hulk out, just firm and snug.
Step 9: Wiring & Sensor Reinstall
- Plug in the electrical connector.
- On the driver’s side, install the ambient temp sensor into the new panel, plug it in, and clip the panel into the mirror base.

Step 10: Test Everything
- Before buttoning everything back up, reconnect the battery and test the lot:
- Power adjustment?
- Indicators?
- Blind spot monitoring?
- Courtesy lights?
- Heater?
- Power folding?
- Temp sensor working?
If everything’s working, you’re good to reassemble.
Step 11: Rebuild Time
- Hang the door trim back on the door and tap it into place.
- Reinstall the four Torx 20 screws and pop the trims back in place.
- Step back and admire your handiwork.
Aftercare
Clearview’s mirrors are made for tough conditions, but they’re not invincible. If you’re hitting corrugations or salt spray, give the arms a spray with dry PTFE lube every 6-12 months. And if you opted for chrome, treat ’em like you would any shiny metal, regular washes and no abrasive cleaners.

Final Thoughts
Installing Clearview mirrors is one of those mods that has a massive impact on safety and usability without needing a hoist, grinder, or four hours of cursing. For any rig that’s doing serious towing, they’re almost non-negotiable.
Ours are going on the new Tremor just in time for the big trip north with Pat and the team. You’ll see them in action across Australia when Season 18 hits screens later this year.
So whether you’re heading for Cape York or just hauling the boat to the coast, this is a bolt-on upgrade worth doing yourself.


