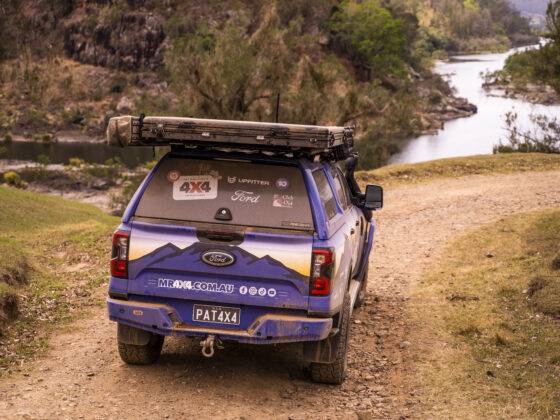
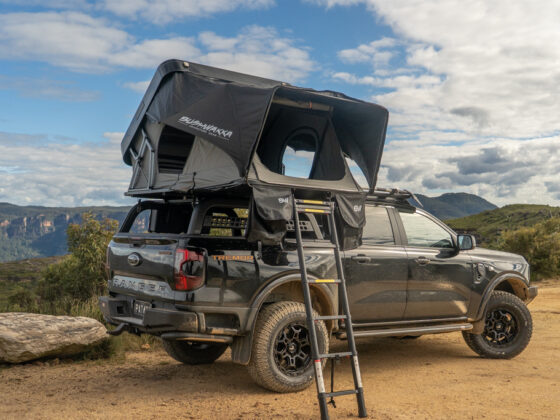
There’s nothing quite like the satisfaction of a well-executed DIY project, especially when it promises to make our lives easier out in the bush. Recently, we took on the task of installing the Bedslide 1000 from UpFitter into Pat’s trusty F-150 right in his driveway. Here’s what you need to know.
Why the Bedslide 1000?
Before diving into the install, let’s talk about why we chose the Bedslide 1000. For those constantly hauling gear, be it camping equipment, tools, or anything in between, the Bedslide offers easy access to the ute tub’s contents without the usual back-breaking reach. Unlock, slide, access, it’s as simple as that. That 1000 in its name means it’s rated for 1000lbs. Or just a hair over 450kg. That means it’s more than sturdy for what we had planned for it. If you’re planning on throwing camping kit, tools, or just the haul from your Bunnings run in your tub the Bedslide is well worth a look.
Tools and Materials
Supplied Hardware:
– 5/16in riv nuts x 4
– Riv nut tool x 1
– 5/16in x 2in hex head bolts x 4
– 5/16in split lock washers x 4
– 3/8in flat washers x 4
Tools Needed:
– Drill
– 1/2in drill bit
– Sharpie
– Tape measure
– 1/2in socket and ratchet
– 1/2in open-ended spanner
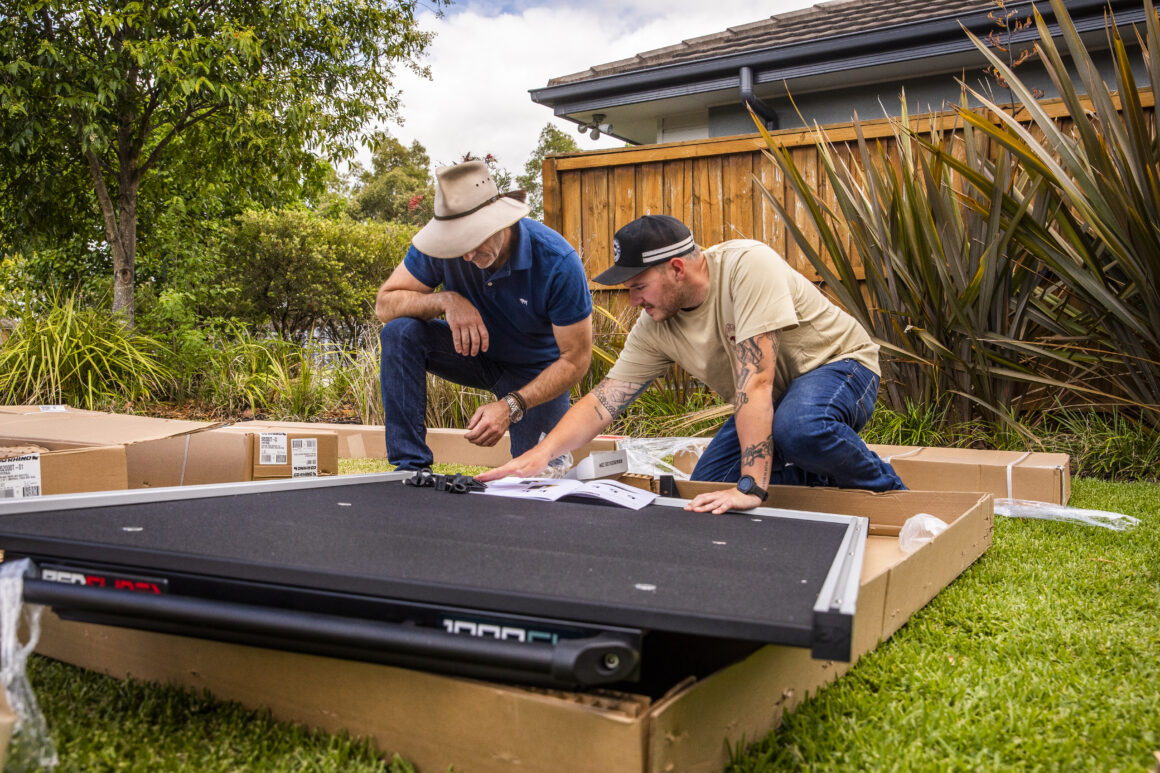
Step 1: Position the Bedslide
We started by centering the Bedslide in the tub. Make sure there’s 40mm of clearance between the bulkhead and the Bedslide frame. Also, double-check that your tailgate clears the Bedslide when it’s both open and closed. If it doesn’t, you might need a lift block kit, UpFitter recommends the Lift Block Kit (Part #BSA-SPACEBLKIT).
Step 2: Mark and Drill the Mounting Holes
Next, we moved the upper tray out slowly from the closed position, making sure not to shift the hole placement. Using the pre-punched holes in the cab end and centre cross member as guides, we marked and drilled four 1/2in mounting holes. It’s crucial to use the hole that rests on the highest part of the tub floor for proper alignment.
Step 3: Install the Riv Nuts
Now it’s time to get those riv nuts in place. We moved the Bedslide to access the marked holes and drilled through the tub using the 1/2in drill bit. Then, we inserted a 5/16in bolt through the riv nut tool and into a riv nut, positioning the assembly into a mounting hole. Holding the riv nut tool with a 1/2in spanner, we tightened the bolt until the riv nut compressed and secured itself to the bed. This process was repeated for all four holes. Be sure not to over-tighten, and definitely avoid using air impact tools here.
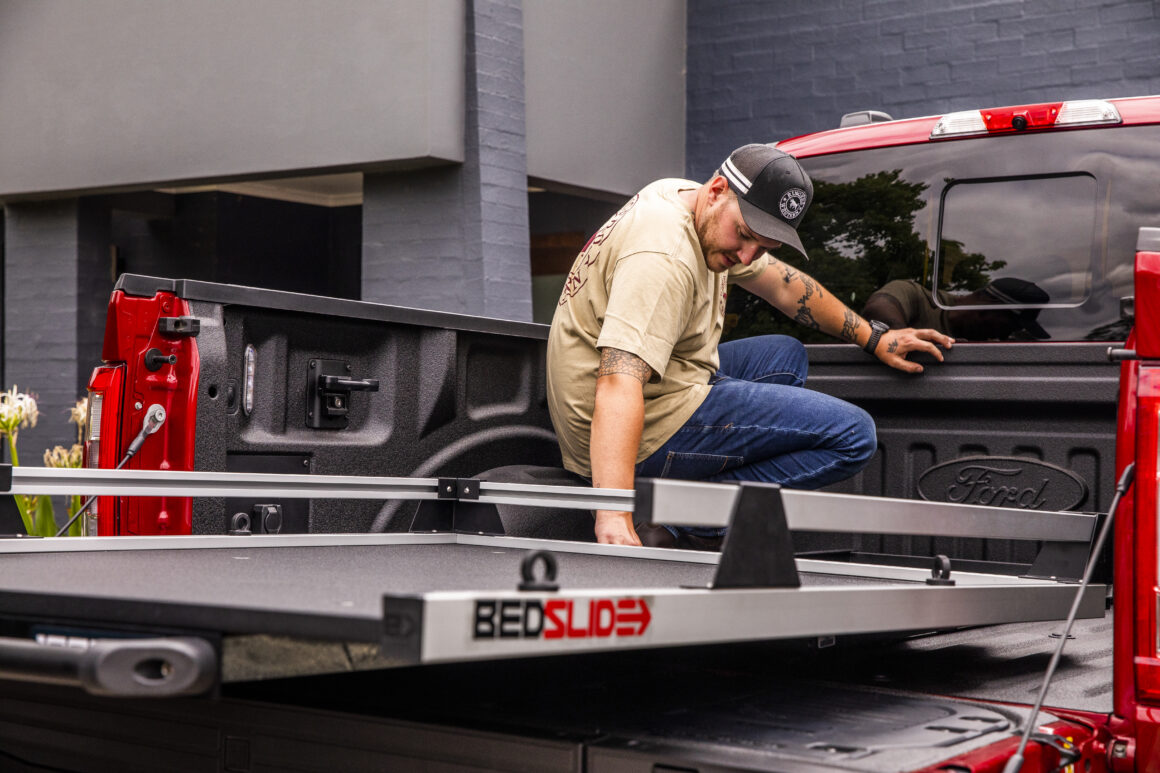
Step 4: Bolt Down the Bedslide
With the riv nuts installed, we re-positioned the Bedslide back in the tub, aligning each mount hole with the riv nuts. Using the 5/16 x 2in bolts, we bolted down the Bedslide at each mounting location, ensuring everything was nice and secure.
Step 5: Install the Corner Towers
We then moved on to installing the corner towers. After loosening the set screws, we removed the plastic end caps from the Bedtrax, inserted four mount blocks down each side, and set the caps aside. Next, we inverted the corner towers, slid the mount blocks underneath, and secured everything using the supplied allen head bolts.
Step 6: Attach the Head Rail and Side Towers
With the corner towers in place, we attached the head rail by sliding one end into the mounted corner tower. A mount block was inserted into the head rail and fastened with an allen head bolt. We repeated this on the opposite side, making sure everything lined up perfectly. Next, we inverted the side towers, slid mount blocks underneath, and secured them to the Bedtrax with the allen head bolts. The eye-bolt mount blocks were slid in to make sure everything was positioned correctly before fully tightening.
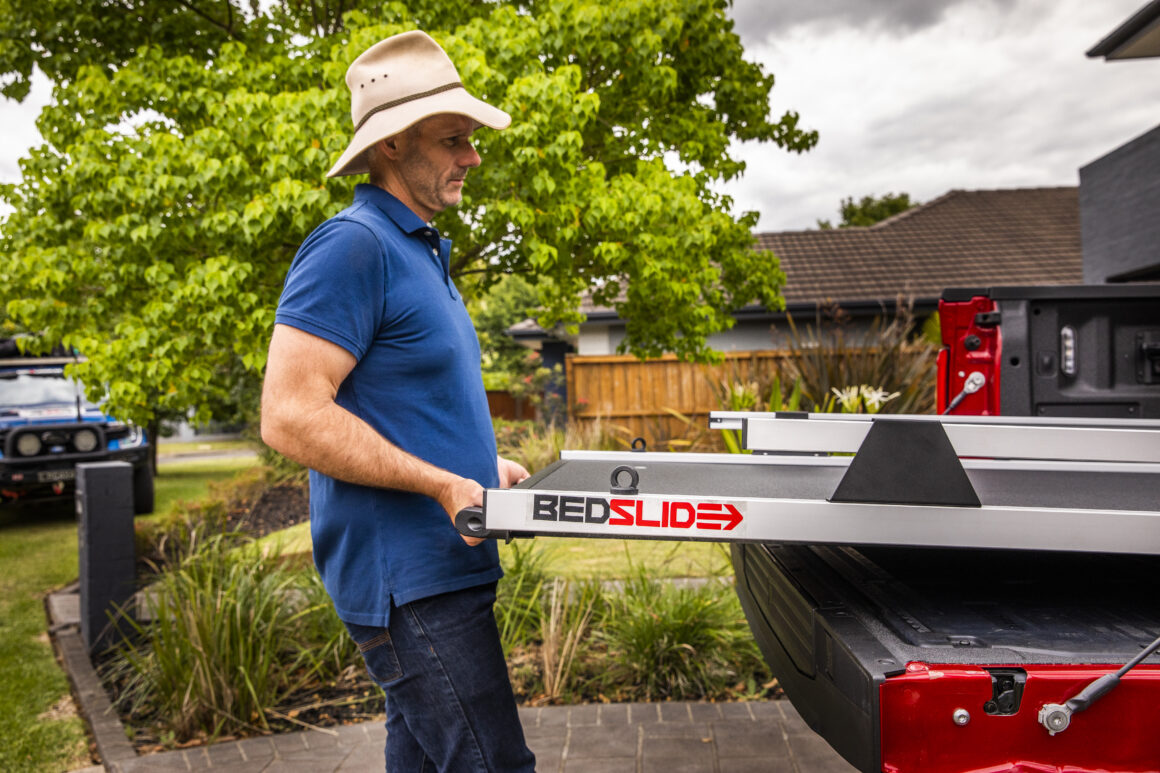
Step 7: Final Touches
Finally, we installed the eye bolt tie downs by threading them into the mount blocks in the Bedtrax and positioning them where needed. We then re-installed the plastic end caps and tightened the set screws.
After a quick once-over to make sure everything was in place, we peeled off the protective film from the die-cut decals on the tie-down rails. If any letters came up with the film, we just pressed them back down and rubbed them into place.
Observations and Opinions
Installing the Bedslide 1000 was a straightforward process, taking us just a couple of hours from start to finish. The provided instructions were clear, and the hardware fit perfectly. Despite the F-150 having a tub the size of a hatchback we can quickly and easily access even the deepest corners. Now, accessing gear in the tub is a breeze, saving our backs and time. However, we did notice that having an extra set of hands made the process smoother, especially when aligning and securing the Bedslide. So, if you’re considering this installation, grab a buddy, or in our case, a Pat, and make a day of it.


