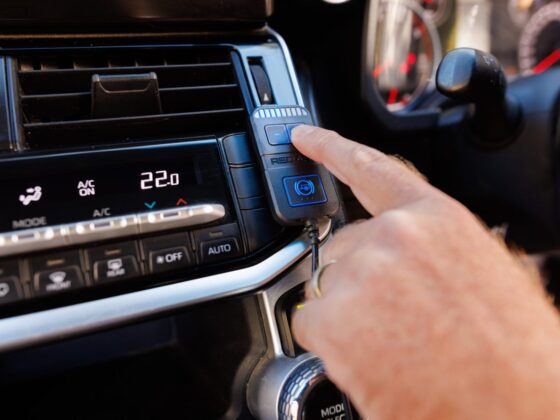
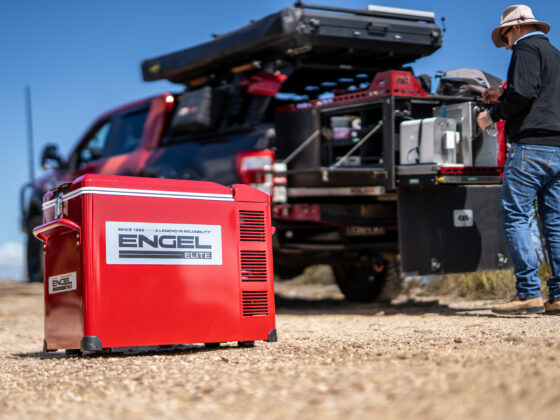
If you’ve looked into installing a UHF in your Next-Gen Ranger or Everest, chances are you’ve already realised there’s barely any info out there. But don’t let that fool you into thinking it’s difficult. In fact, the job’s dead simple, especially if you’ve got the right tools, some good-quality brackets, and a mate to help out. We recently fitted a Uniden XTRAK Pro 80 into a Next-Gen Everest. Here’s how to do it yourself.
What You’ll Need:
UHF radio (Uniden XTRAK Pro 80 in our case)
Aerial & mount (bar-dependent)
Brackets (mic mount, module mount, dash bracket)
Coat hanger or cable-pulling tool
Trim removal tools
Ring terminal
Soldering iron
Zip ties
How To Do It
Step 1: Prep the Workspace
Pop the bonnet nice and early (passenger side release on these rigs) to vent any heat before you get started. On the inside, remove the glovebox by pressing the two side clips. Pull off the passenger-side door seal and carefully remove the lower side trim using gentle leverage. You’ll expose the labelled ‘Run Start’ wire, which is perfect for an ignition-fed power source but we’ll come to that later.

Step 2: Strip Back the Dash
Next up, gently pull back the centre dash trim around the gauge cluster. It’ll seem a little daunting, but I promise you it’s only held in with a few clips, you won’t break them. You’ll get all the access you need behind it. Remove the brake controller panel if you’ve got it, otherwise it’ll look like a small shelf. This will help us mount the mic bracket.
Using a 7mm socket, remove the top screw and loosen the bottom one. Slide the bracket in behind the loosened screw, then re-fit the top. Snap the dash trims back in with the tab exposed for the mic.

Step 3: Aerial and Firewall Cable Run
Mount your aerial to your bullbar (in our case, a Summit M2 Sahara bar with an integrated mount). Next, locate the factory firewall grommet. Ford thoughtfully included a sealed tube for this exact purpose. Feed your aerial cable through using a coat hanger with a bent end, taped to the cable.
Pull it through into the passenger footwell. It’s a two-person job, one feeding from the front, the other guiding it through inside.

Step 4: Mounting the Mic and Extension Cable
Attach the handpiece bracket to the dash tab with the supplied screws. Use the Uniden extension cable to get extra reach and hide the connection box under the dash. Tuck it up out of the way so it doesn’t dangle in the footwell.
Step 5: Mount the UHF Module
Now for the brains of the system. We mounted the UHF unit itself up next to the steering column using a universal bracket. There are a couple of existing studs on the firewall you can use. You might need to raid the nut-and-bolt stash or drill a hole depending on your particular brand of UHF.
Slide the module into its bracket and tighten it down.
Step 6: Wiring It Up
Run the aerial cable neatly across behind the dash, keeping it out of the way of the pedals and glovebox. Use factory cable paths or existing looms where possible. Bundle excess into the passenger side and avoid hanging loops, the last thing you want is a wayward passenger accidentally ripping the lot out.
For an earth, we trimmed the negative wire short and crimped on a ring terminal, bolting it to a bare metal point under the centre console trim.
For power, we stripped the positive wire and soldered it to the ‘Run Start’ circuit mentioned earlier. This gives you power only when the car is on no flat batteries. Avoid dodgy shortcuts like Scotch locks. If you’re not confident soldering, get a mate who can. A Scotch lock is never worth the hastle.

Step 7: Plug It All In
Reconnect the aerial, mic extension, and power to the UHF unit. Zip-tie everything up neatly out of the way.
Reassemble your trims and glovebox, and you’re done. Flick the ignition on and check your mic. If it lights up, you’ve nailed it.
Final Thoughts
We spent around $120 on brackets, did one solder joint, crimped one terminal, and used nothing more exotic than a coat hanger and now we’ve got a factory-look install that’ll last the life of the vehicle. Ford made these Next-Gen platforms surprisingly DIY-friendly. All you need is the right gear and a bit of confidence.


