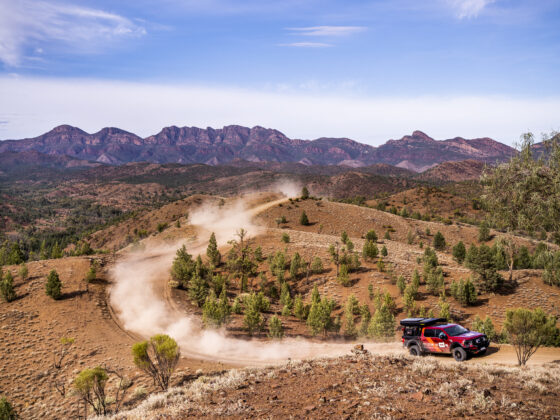
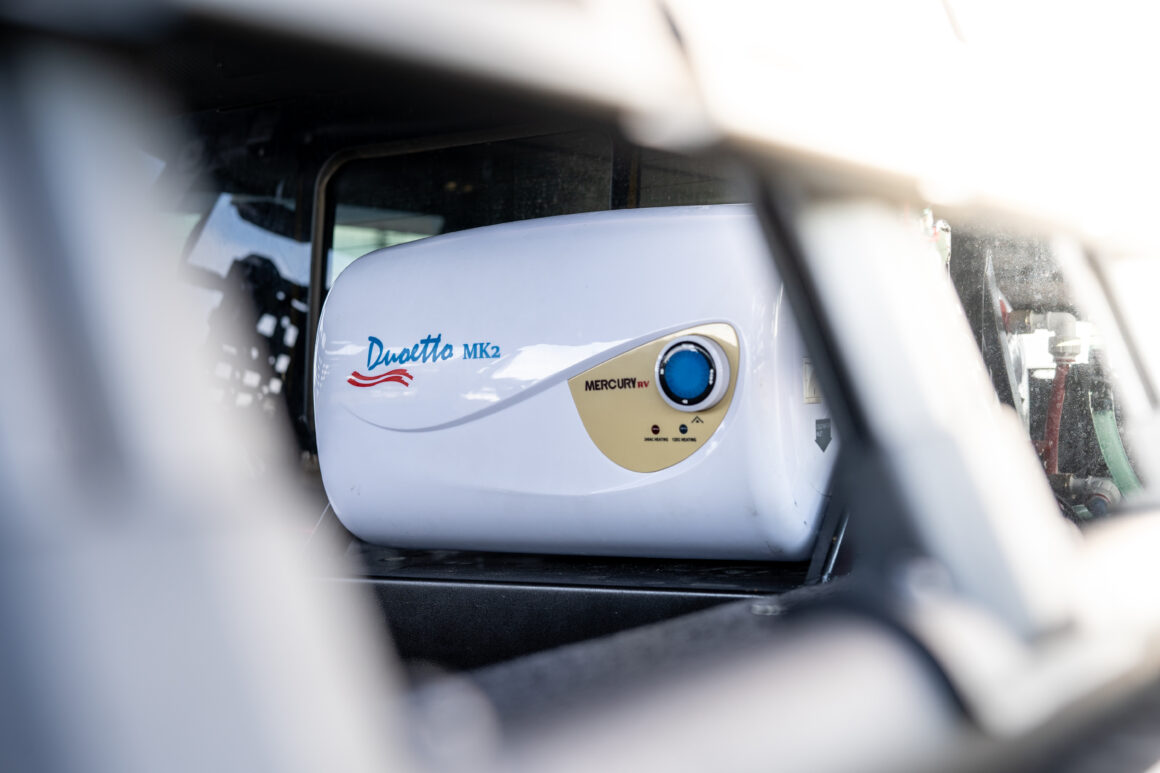
There’s an endless list of accessories you can fit into your 4X4 these days. From absolute must-haves like water storage, to… well… LED light-up whips. Some of it is a non-negotiable, and others are nice to haves. But some accessories are so easy and affordable that they tip from the nice-to-have category over into the you’d-be-mad-not-to category, That’s exactly where we found ourselves recently with the Duoetto MK2 Water Heater from Aus J.
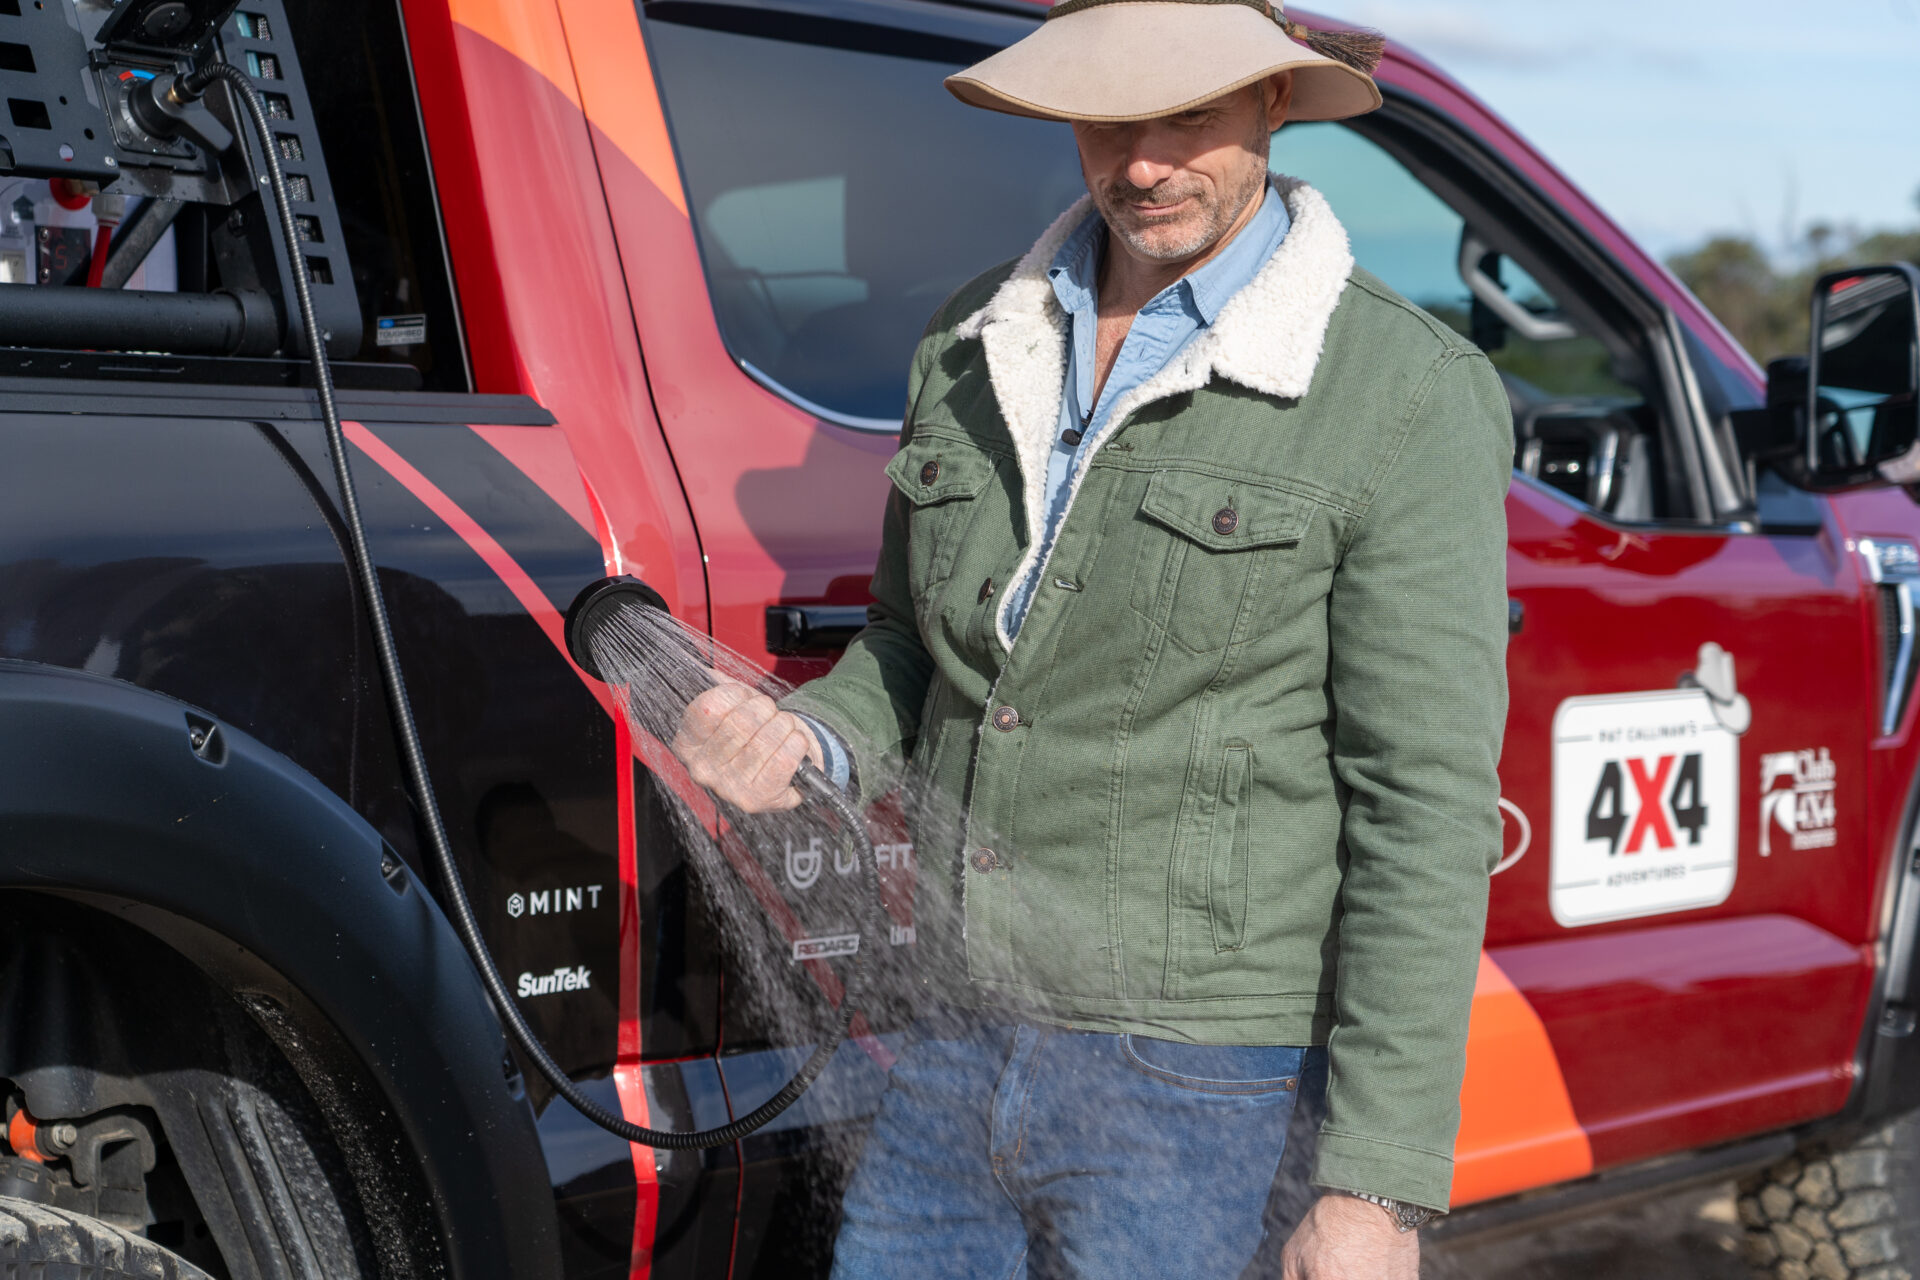
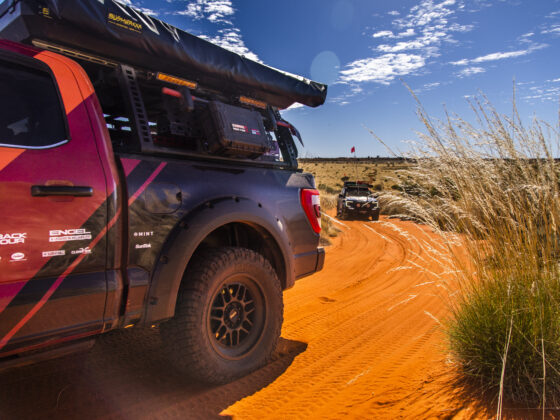
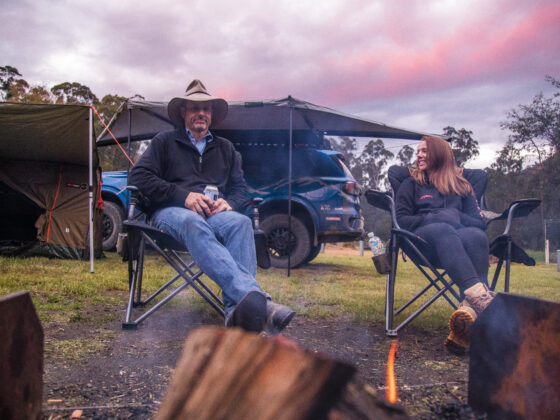
We’re no stranger to a little bit of luxury on the road. When we’re out exploring local tracks we generally prefer keeping things simple, but when we’re taking month-long adventures to far-off destinations a little niceties around camp can seriously help with fatigue levels. When it’s bucketing rain or beating down with heat a free-standing awning that pops up in 30 seconds is a godsend. But hot running water? That’s always seemed pretty next-level. We’ve gotta admit though, we were wrong. After an arvo in the back of the F-150, and less cost than an eBay swag we’re now able to wash off the mud and dust no matter what faraway location we’re at. So how’d we do it?

Mount it up
First things first, with Pat’s F-150 jam-packed with off-road kit already we had to find a space to actually fit the Duoetto unit. At a little over 400mm long and 260mm wide and tall, it wasn’t too difficult to find a space that’d accommodate it. There are mounting options on the back, and the base as well. We had a small rack fabbed up for it, but if you had a canopy or the like you could mount it straight to the canopy wall with a few supports. The unit only weighs 7.4kg but Aus J recommends factoring in enough strength for 40kg just to account the dynamic loads you might see off-road.
One trick is to install the unit as close as possible to where you’ll put the outlet. The less exposed pipe-work out in the open, the less heat you’ll lose between the unit and your shower.
Run some pipe
With the unit mounted securely in place it’s time to plumb it up. There’s a variety of different plumbing systems you can use but we found 1/2in PEX tubing to be the simplest, and easiest to work with. A few months down the track since we installed it the PEX has held up well to corrugations as well so can definitely recommend.The Duoetto MK2 doesn’t require an external water pump to actually get the water moving. We tapped into the existing onboard water supply in the OffRoad Systems setup with a few T-pieces and then mounted up a simple RV-style shower mixture on the Go Rhino tub rack. There’s a pressure release valve that needs to be thrown in the mix as a little cheap insurance to protect the unit as well. All in, it took less than an hour to plumb the unit.

The odds and ends
Before we can connect the unit to a power source there are a few things we need to do. The first is priming the unit with water. This is a relatively simple process of disconnecting the hot water pipe coming out of the unit, and running cold water in through the inlet. In our case, that was as simple as turning on the water pump until water came out of the Duoetto and then re-connecting.
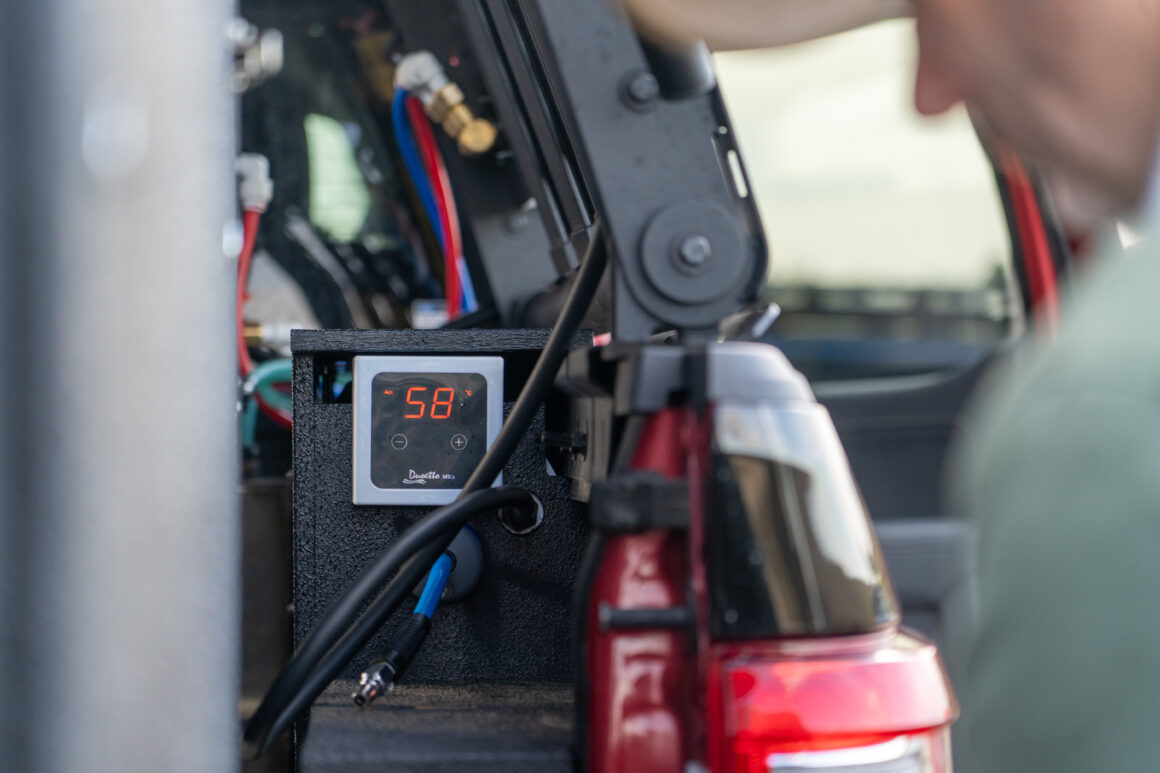
The unit has all of the controls you need mounted directly on the face of it but we optioned up for a remote control unit. The 100mm X 100mm display lets you dial in the temperature without direct access to the unit itself, handy for people stashing the unit out of the way. With a 5m digital cable connection, it only added about 10 minutes to the install time.
Time to add a little power
There are a couple of options for powering the Duoetto depending on how you’re planning on using it and how you normally head bush. If you’re parked up in caravan parks or want to use it around the house then the 240V lead can run the unit up to a maximum of 75c using 1000W and 4.2A. If you’re running it on 12V it’ll draw 300W and 25A for a maximum of 70c. The unit can switch between the two modes so it’s not a one or the other kind of affair.
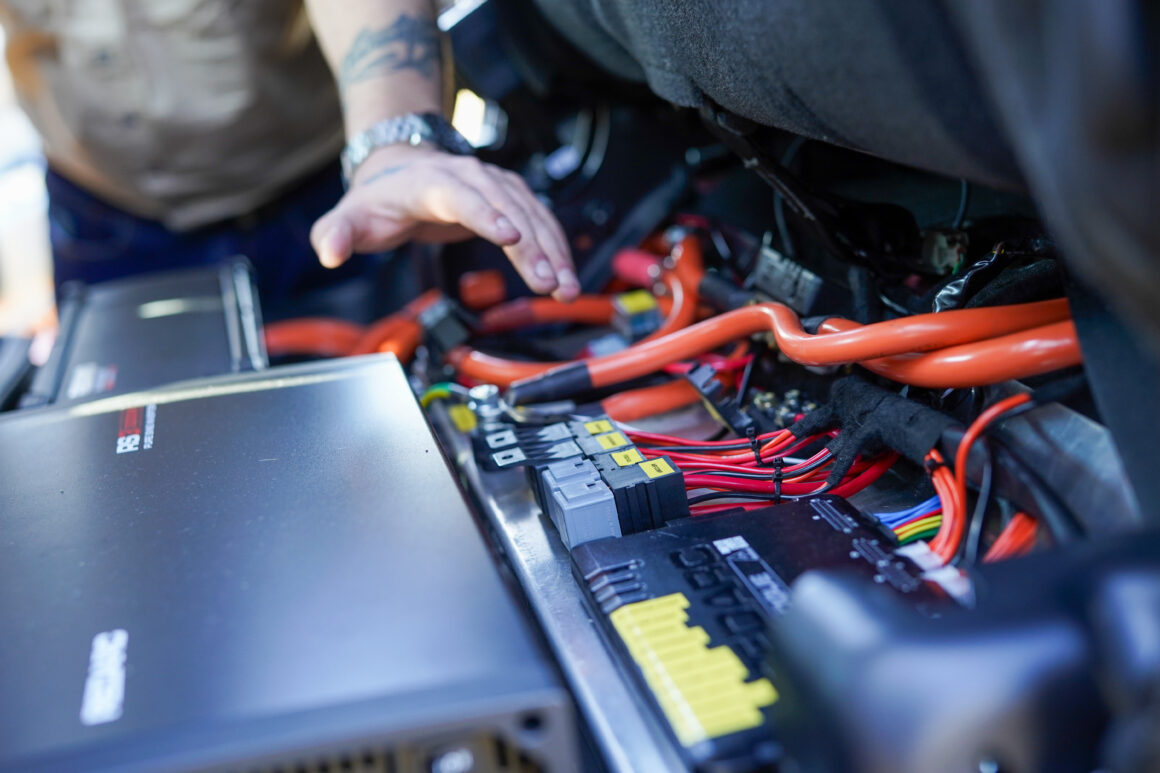
We wired the Duoetto MK2 up through the REDARC system so we could control it through the RedVision system and monitor power usage but the setup is similar either way. There’s a red 4mm2 cable that needs to go directly to the house battery, or in our case to the REDARC system. A 50A fuse needs to be thrown in the mix. A black 4mm2 cable needs to go directly to ground. A second set of smaller wires need to be connected to a switch to turn the unit on or off, we ran these through the RedVision controller so Pat can turn the unit on 10min before pulling into camp so it’s warmed up and ready to roll.
All in, we spent maybe $100 on top of the unit cost, and around a day tinkering in the back of the F-150 to get it up and running. Paired up with the recently installed Bushwakka ensuite the whole crew are now able to warm up at the end of a cold day, rinse the dust off after a long day on the tracks, and fight off a little more fatigue on big trips past the black stump. Is it a necessity? Absolutely not. But for the money and time investment, it’s easily worth it for anything more than an overnighter.


