Ah, the allure of the Friday night camp, the freedom of endless bush, and the promise of an ice-cold beverage and a hearty meal after a long day on the tracks. What could possibly make this picture more complete? A cracking campfire, that’s what. But not just any old campfire will do. Depending on your needs, you might want a fire for cooking, warmth, or even just for its Instagrammable aesthetics. So, let’s break down how to build the perfect campfire for your 4×4 adventures.
The Masterclass on Campfire Types
The Keyhole Fire
The humble keyhole fire, a classic choice for the campfire cookup. Imagine a keyhole shape dug into the ground: a circle for the fire itself and a rectangle off to one side. You’ll build a wood fire in the circular pit, and once it burns down, you’ll shovel the hot coals into the rectangular area for cooking. This keeps your roaring fire separate from your cooking area, giving you control over the heat. The keyhole fire offers the best of both worlds, providing both heat and a controlled cooking area. And let’s be honest, who doesn’t love a multi-tasker?
The Pyramid Fire
Also known as the upside-down fire, the pyramid fire begins with a layer of large logs laid side by side on the ground. Then, each subsequent layer of logs is placed perpendicularly on top of the previous one, creating a pyramid shape. Light the fire from the top, and it will burn down through the layers, requiring minimal maintenance. This is perfect for a slow, consistent heat.
The Log Cabin Fire
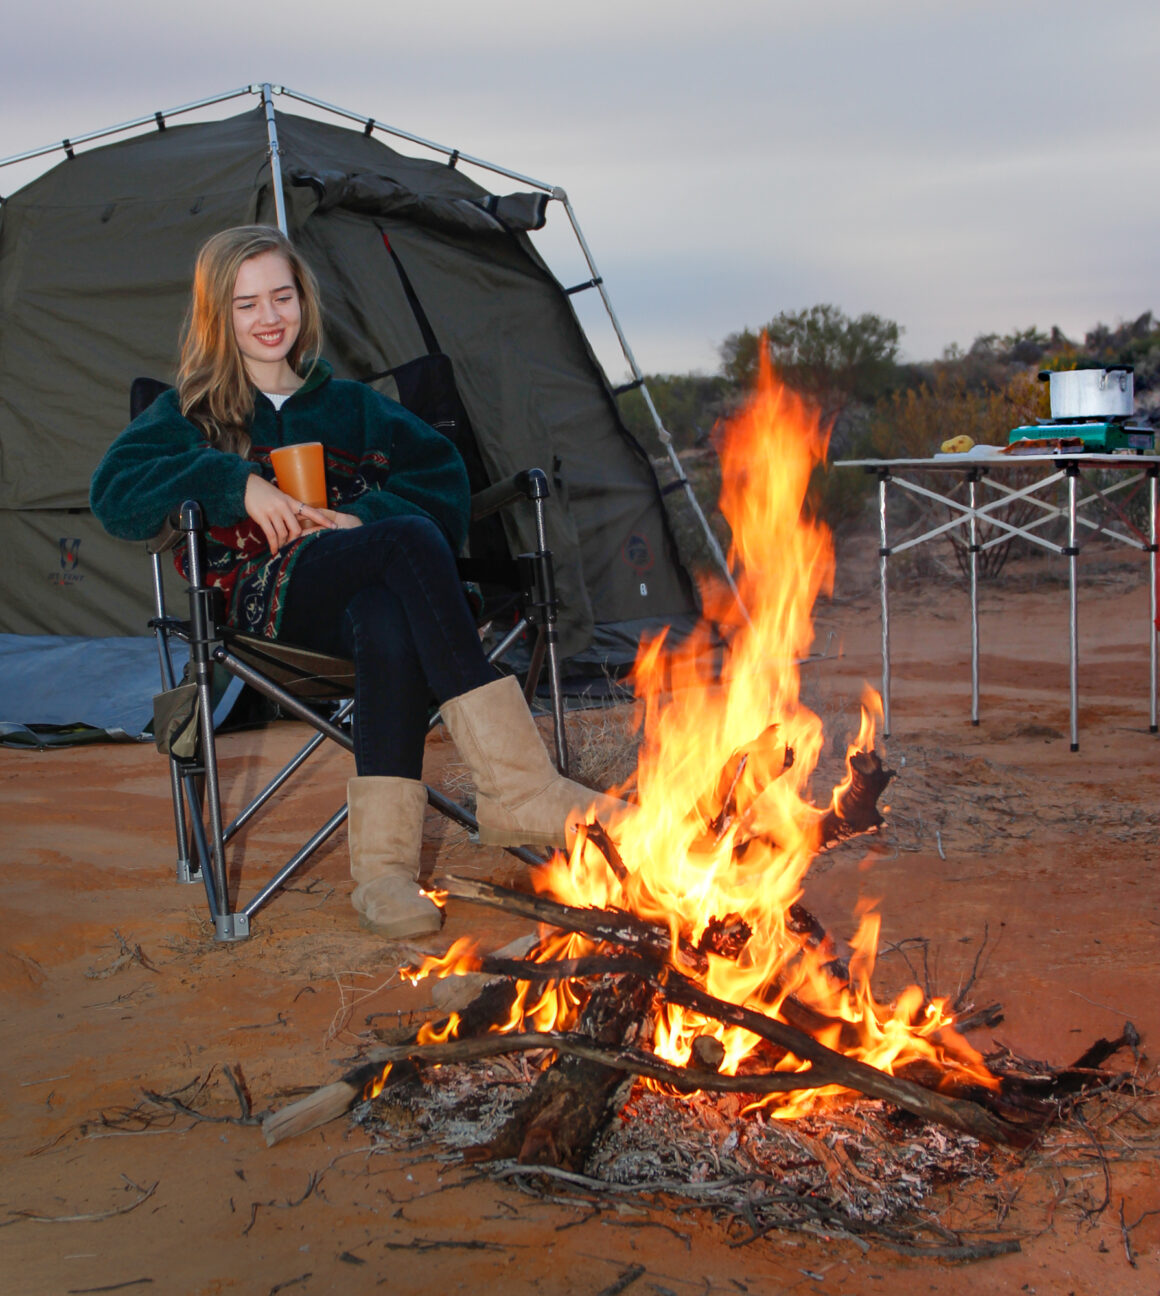
Let’s bring out your inner architect with the log cabin fire. Start by creating a small teepee fire as your base, then lay larger logs around it, stacking them like you’re building a tiny log cabin. The benefit? More ventilation, which means a more consistent fire. This structure allows for a longer, steadier burn and puts out an impressive amount of heat — perfect for those chilly high country nights.
The Star Fire
Picture a clock with the logs serving as the hands. This fire is built with your firepit in the middle, and large logs are laid out like spokes on a wheel or the hands of a clock. As the ends of the logs burn, you simply push them further into the centre. It’s a slow-burn strategy that makes it easy to control the fire’s size and heat. Ideal for when you want to set it and forget it.
The Swedish Torch
Fancy a fire that doubles as a cooktop? Then the Swedish Torch is your go-to. It involves vertically stacking logs in a tight bundle and lighting the top. The fire burns downward, creating a flat, stable cooking surface. It’s a bit of a showstopper, and great for when you want to whip out some bushcraft cred.
The Teepee Fire
The simplest of all, the teepee fire involves leaning sticks or logs against each other, meeting in the centre above your fire pit. Kindling and tinder are placed in the middle. As the fire burns, the logs will collapse inward, feeding the fire. This one’s perfect for a quick, hot fire but will require more maintenance to keep it going.
Next-Level fires
The Dakota Fire Hole
If it’s a windy day and you need to keep your fire protected, the Dakota fire hole is a great option. It involves digging two holes in the ground: one for the fire and another for airflow. A tunnel connects the two. This provides the fire with a steady flow of air, improving combustion and generating intense heat while keeping the fire low-profile and less visible.
The Lean-To Fire
Finally, the lean-to fire is perfect for wet or windy conditions. Place a large log down, and then lean smaller logs against it, creating a sort of ‘wall.’ Place your tinder underneath and light it up. The larger log acts as a windbreak, allowing your fire to catch even in less-than-ideal conditions.
Fire Safety
Before we turn this article into a bushfire hazard, let’s talk about safety. Always, and I mean ALWAYS, adhere to fire bans and restrictions, especially during bushfire season. The fire danger ratings are based on how quickly fire can spread, two identical fires, with two identical embers heading off into nearby scrub will have vastly different outcomes depending on the fire danger rating. Check the local regulations and opt for a portable gas stove if fires are a no-go. And keep a shovel and plenty of water handy to douse your fire properly when you’re done, using the shovel to turn over the ash and coal to release the heat.
Wood Selection
Not all wood is created equal. For a good, long-lasting fire, you’ll want hardwoods like red gum or ironbark. These woods are dense, which means they burn hotter and longer. Avoid softwoods like pine; they burn quickly and produce less heat.
When sourcing your wood, look for pieces that are dry and free from rot. If it’s too green or wet, you’ll have a hard time getting it to burn. And hey, nobody likes a smoky campfire, right?
Starting Your Fire: The Right Way
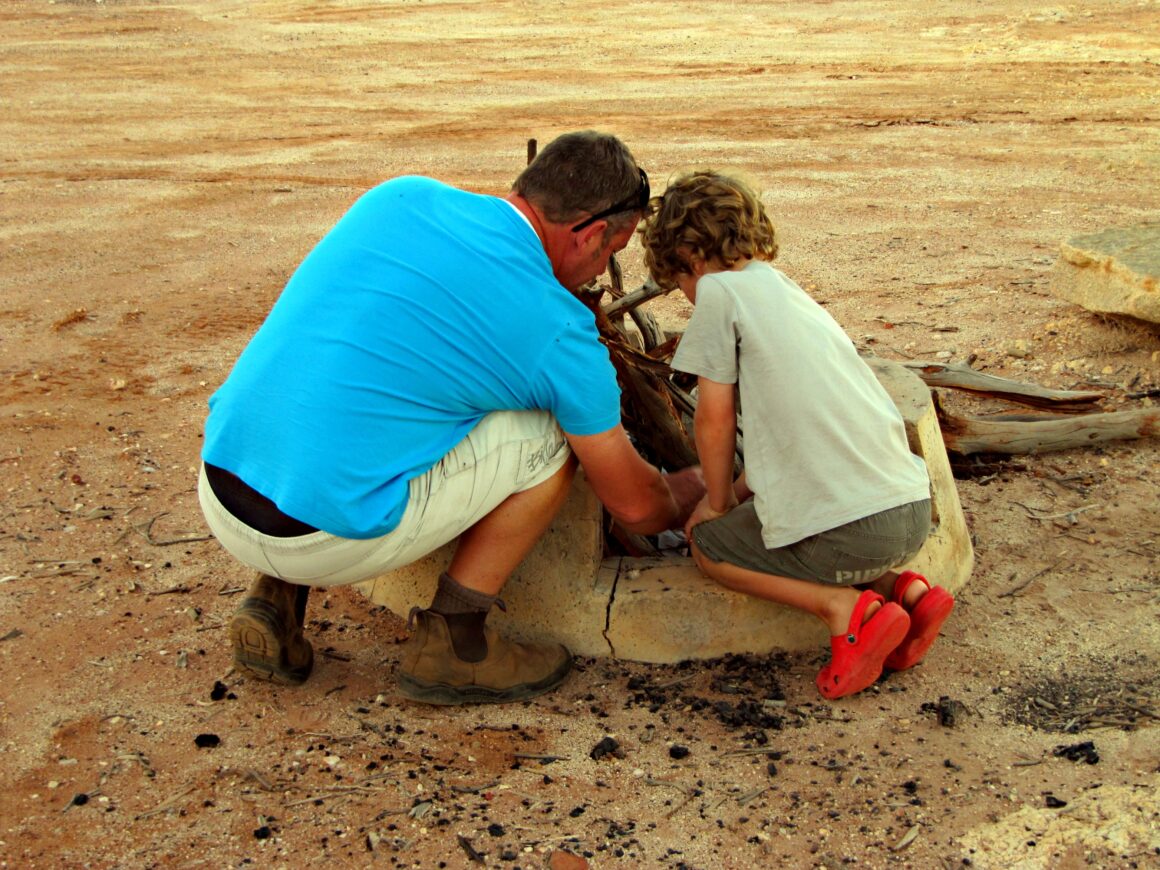
So you’ve got your wood, you’ve picked your fire type, and now it’s time to spark up. First things first: make sure your fire pit is at least 3 metres away from tents, cars, and other flammable items. Now, onto the fun part.
- Tinder: Start small with easily combustible materials like dry grass, paper, or fire starters. This will serve as your tinder.
- Kindling: Once your tinder is lit, add small twigs and sticks. This is your kindling, and its job is to help your fire grow without smothering it.
- Fuelwood: Now you can add your larger logs, but don’t go overboard. You want to build up slowly to give your fire a chance to breathe.
- Arrangement: Depending on the type of fire you’re building, arrange your logs accordingly. Remember, a cooking fire needs a flat bed of coals, so let it burn down a bit before you slap on that steak.
- Oxygen: Don’t smother your fire. Fires need oxygen to survive. Build it up gradually, allowing plenty of air in, and you’ll have yourself a perfect fire.
Read more: What’s missing from your first aid kit Pat takes on the mighty Barrington Tops – Watch it for free on YouTube now


