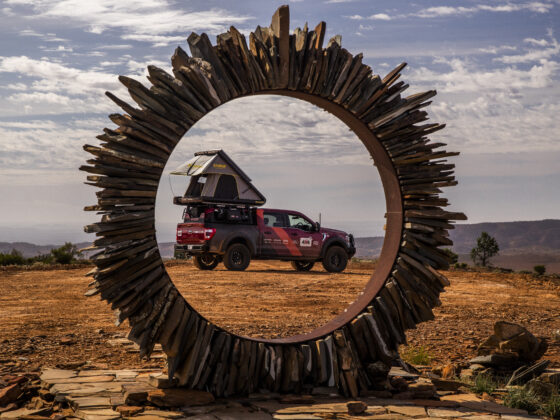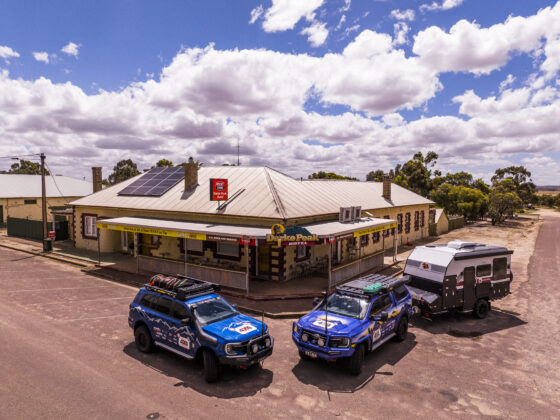

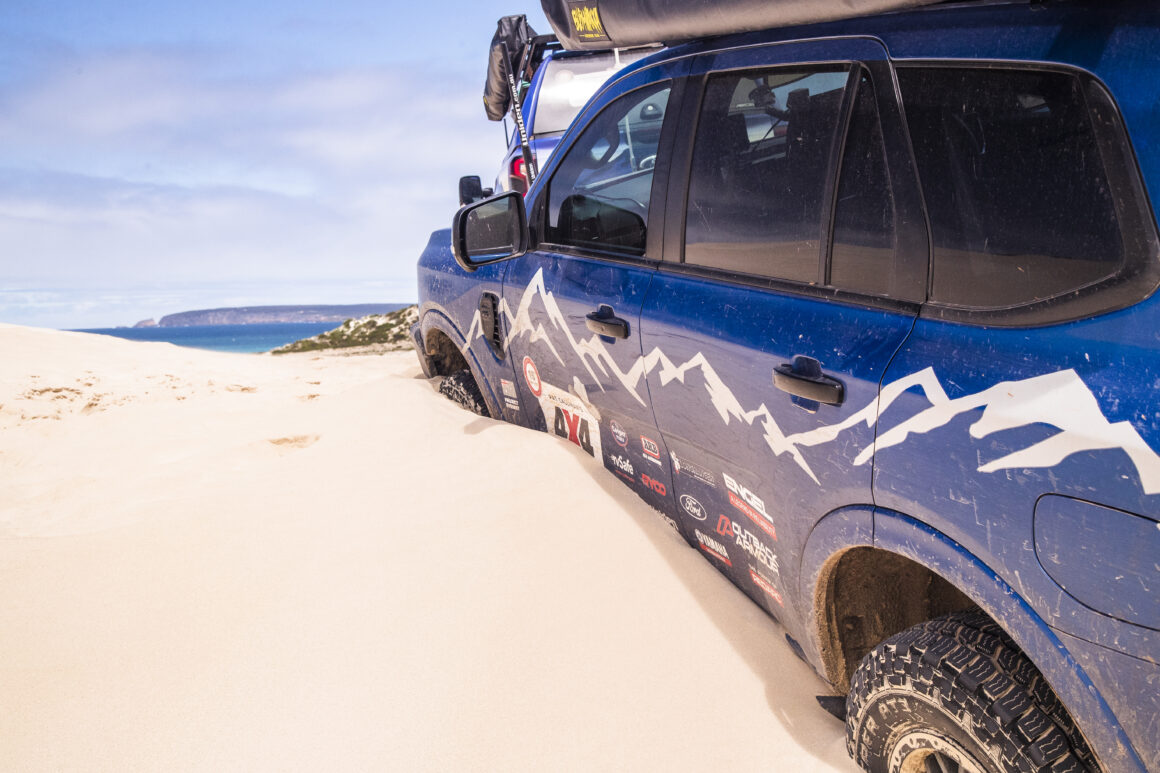
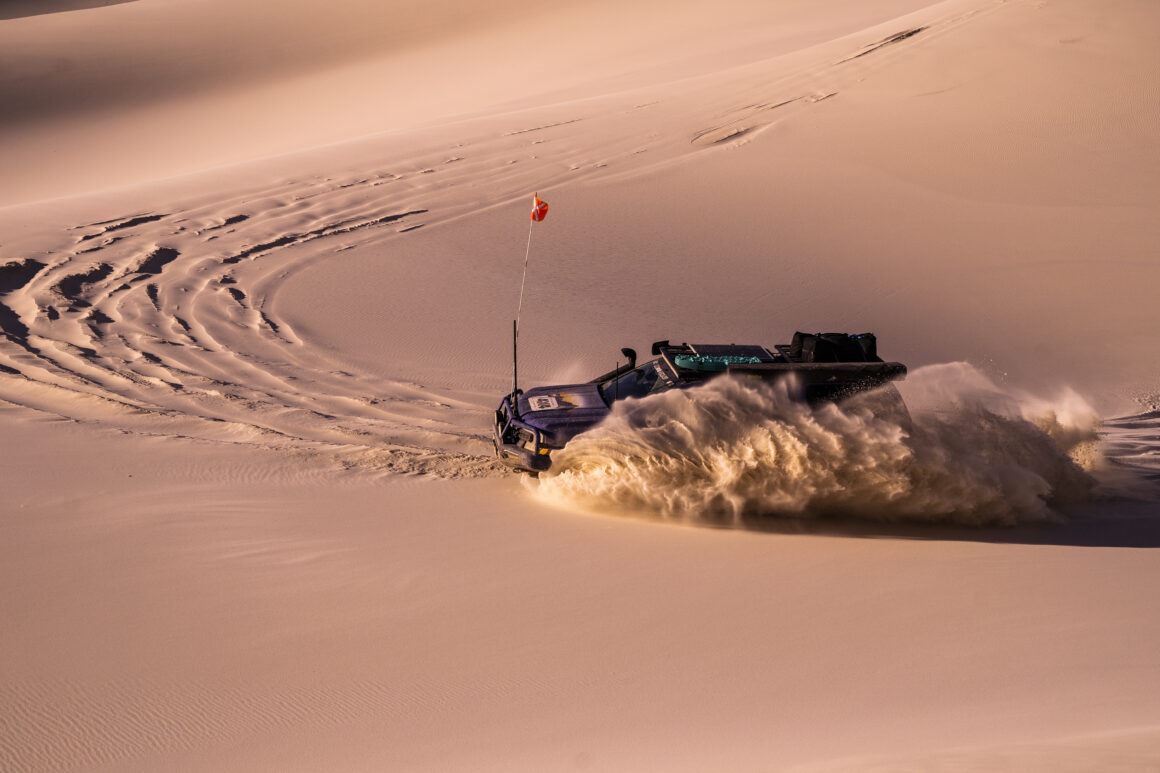
I’m going to hazard a guess and say that at least 90% of people who’ve wheeled in the sand are willing to admit they’ve also been bogged in it at some stage, and the other 10% are lying. It doesn’t matter whether it’s the sandy tracks of Australia’s vast Outback, or a backyard beach run. Sand is without a doubt the most humbling terrain you can tackle in your 4X4, one second you’re cruising up a dune on cloud nine without a worry in the world, and the next you’re bogged so deep you can’t even open the doors (ask me how I know).
It’s soft, unpredictable, everchanging and some of the most fun you can have behind the wheel. In fact, I reckon some of Australia’s best campsites only come after a stint on the sand, especially if they’re in the Outback. If you’ve tackled a track Like Googs in South Australia, or even a Simpson Desert crossing and left with Post Traumatic Sand-Stress Disorder, or you’re a first timer looking to experience the thrill of Outback sand driving without getting stuck, this is the article for you.

WHAT TO PACK FOR THE SAND
When loading up for an Outback track that’s going to involve sand driving, it pays to make sure you’ve set yourself up for success by packing a few critical items:
1. A reliable air compressor: Air compressors can be touch and go, you want one with a solid output and duty cycle. Somewhere around 45 minutes at 40 PSI.
2. Tyre deflators: There’s a myriad of different devices you can use to drop your tyre pressures and they all have their pros and cons. For us, the Mean Mother 4X4 tyre deflators take the cake. They’re quick, easy, and accurate.
3. Recovery boards: If you’re hitting the soft stuff these days without a set of decent recovery boards, you probably have rocks in your head. They’re inexpensive, effective and one of the best means of self-recovery on the market, especially on the sand.
4. A sand flag: if you’re planning on dune driving, a sand flag is cheap insurance against head-ons and other accidents. In many locations, the use of sand flags is mandatory and closely monitored by authorities.
5. A quality recovery kit: The unwritten rule of bogging’s is this; the person that’s stuck supplies the straps. So, make sure your kit is fully stocked and free from damage.
6. A shovel: Great for digging yourself out of trouble, and doubles as a fry pan if you forget yours. Perfect.
TYRE PRESSURES
It doesn’t matter what genre of terrain you’re tackling; your tyre pressure plays a huge role in determining how far you’re going to get before something goes wrong. And few terrains are better at proving this fact than sand. If you’re in a full-size and fully laden 4X4 you want to be aiming for anywhere between 16-18 PSI, this pressure range should see you comfortably making your way to where you want to go, but it’s not a fix-all.
If you find yourself bogging down, feel free to drop your tyre pressure lower. You can go down to as little as 8 PSI without bead locks, but it pays to remember that dropping your tyre pressure also changes the handling characteristics of your rig, so avoid sharp turns and high-speed runs.
THE FUNDAMENTALS OF SAND DRIVING
With your tyre pressures dropped, it’s time to start heading to camp. This is where the fun (and, let’s face it, the carnage) begins. Where possible (and safe) you should aim to drive on the firmest sand possible; but don’t stray off the tracks. Let’s keep the Outback in one piece for us all to enjoy, eh?
Now, I’m not quite sure what it is about sand—perhaps the fear of getting stranded in the middle of what feels like nowhere; perhaps it’s that the Outback can at times resemble a racetrack and we’re liable to have the little devil on our shoulder whisper “faster, faster.” Whatever you do, don’t listen to that little devil’s advice.
Mastering the delicate dance on sandy tracks requires finesse, the faster you go, the more quickly it’ll all go wrong. Striking the perfect balance of momentum is the key, but here’s the catch – there’s no one-size-fits-all formula. It’s a concoction influenced by the softness of the sand beneath, the weight of your rig, and whether you’re navigating twists and turns or cruising in a straight line.
Now, let’s talk about gear selection. As a golden rule, low range is the unsung hero on the sand. It dials back your throttle response, minimising the risk of digging holes on takeoff, and ensures an equal distribution of drive to each wheel, making life twice as easy for you and your 4X4.
Of course, there are exceptions. If light rain has graced the dunes, hardening the sand and your rig boasts ample power, high range might be on the cards. But here’s where your intuition steps in – gauge the conditions and make that judgment call. As you accumulate sand-driving wisdom, you’ll instinctively know the gearing the terrain craves, so let yourself make mistakes; it’s the quickest way to learn!
“IF YOU’RE IN A FULL-SIZE AND FULLY-LADEN 4X4 YOU WANT TO BE AIMING FOR ANYWHERE BETWEEN 16-18 PSI”
Now, the art of stopping on sand is where the plot thickens. Forget what you know about slamming on the brakes—that’s a sand no-no. Thanks to your astute wheeler instincts, you’ve already left a generous gap between you and anything you’d rather not collide with. Instead of jumping on the slow pedal, let yourself roll to a stop, ideally with the nose pointing downhill. Trust me, this setup will work wonders when you decide to kick things into gear again.
Why avoid the brakes? Well, applying them turns your wheels into sand ploughs, creating a mound of sand in front of your tyres. Your vehicle will struggle when you try to hit the track again, and you’ll likely find yourself digging holes. If you’re halted in a patch of sand softer than anticipated, it’s prime time to activate that rear diff-lock and gently accelerate your way out. Just remember to deactivate it before any turning maneuvers—because diff-locks and corners, well, they’re not exactly dance partners in a ballroom sand dune-ballroom.
DUNE DRIVING
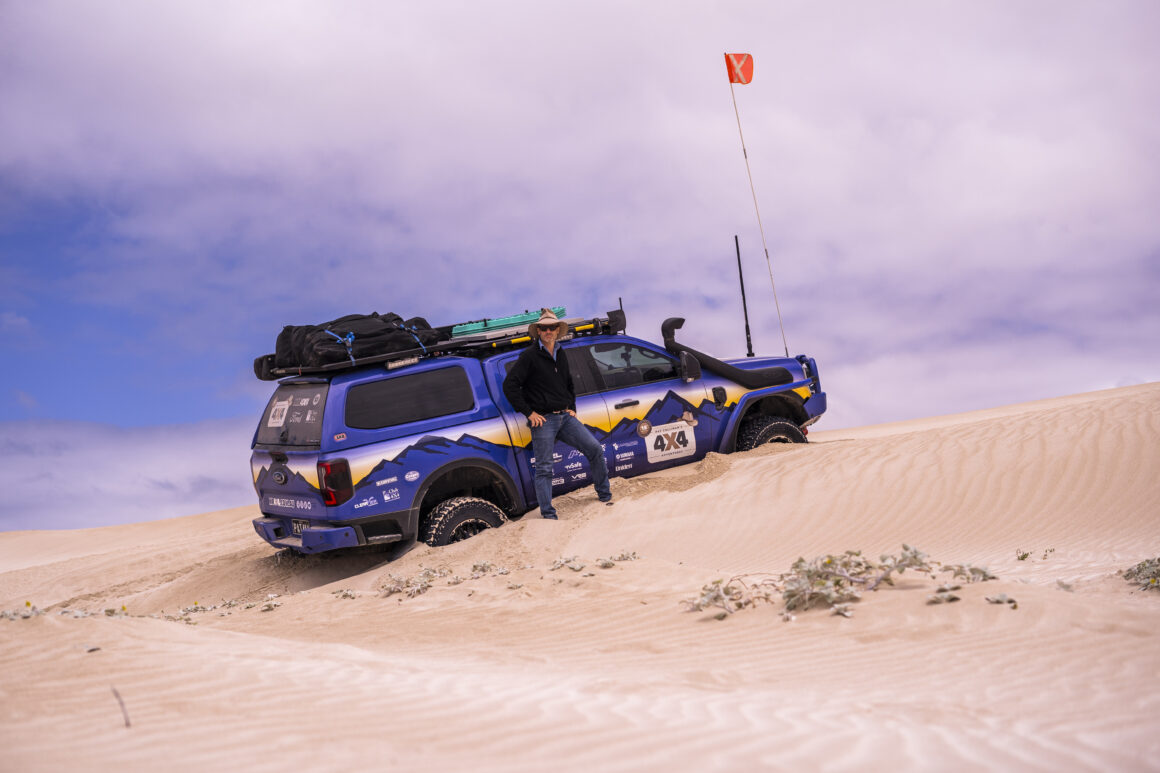
Picking a line, and sticking to it is important. The laws of physics don’t discriminate just because you’re in your pride and joy and don’t want your day ruined. When it comes to dunes, you want to be driving up or down them in as straight of a line as possible. If you’re making sharp turns, the low-side wheels will dig into the soft terrain, and gravity will make short work of plonking you on your side.
Once you’ve picked your line, it’s time to choose your gearing. If you’re ascending don’t be afraid to use a bit of throttle, at the end of the day you’re trying to send a few tonnes of 4X4 up a slippery slope, momentum is your friend. If you feel yourself bogging down, stop accelerating and back down for another attempt. On ascents, diff-locks can be a useful tool for getting you to the top.
If you’re descending, second or third gear low range is your friend. By letting the vehicle slow itself down without the use of brakes you’re avoiding pushing a truckload of sand in front of your tyres as well as maintaining the ability to steer. Here, you can use minimal throttle and focus on a slow and controlled descent.
Depending on where you are, the use of sand flags may be mandatory. If it isn’t, it’s still a good idea to use one. Sand flags are designed to let others who can’t see over the dunes know that there’s an oncoming vehicle. If you don’t have one, you can beep to make your presence known or utilise your UHF radio to let others know your intentions. For example: UHF 10 is the preferred channel for Simpson Desert crossings.
Two other aspects of dune driving that’re often overlooked are sunglasses and seating positions. Dunes are generally free from the trees and tall vegetation that throw shade, which means you’re going to be struggling to see through all the squinting. A decent set of sunnies will reduce glare off the sand and help you spot hidden hazards. Adjusting the position of your seat to one slightly higher will aid in letting you see over steep obstacles and spot washouts.
RECOVERY TECHNIQUES
The stats on this are 50-50, you’ll either get stuck, or you won’t. With odds like that, it pays to have a few recovery options available to you.
Snatching:
On sand, the quickest recovery option is generally a snatch. Here’s how to use one safely and effectively.
Choosing the Right Anchor Point:
First things first, identify a suitable (and rated) anchor point on the bogged vehicle the same on the recovery vehicle. It’s crucial to choose rated recovery points that are specifically designed for recoveries, avoiding components like bumpers or tow balls that won’t withstand the force of the recovery.
Prepare the Snatch Strap:
Ensure your snatch strap is in good condition without any visible damage or fraying. Connect one end securely to the recovery vehicle’s anchor point and the other to the stuck vehicle’s anchor point using correctly rated bow shackles. Again, remembering to never attach a snatch strap to a tow ball, as it can become a dangerous projectile during recovery.
Communicate with the crew:
Clear and concise communication is key during a recovery operation. Ensure everyone is aware of the plan and establish hand signals or radio communication to coordinate the process safely.
Maintain Tension in the Strap:
Once both vehicles are in position and a cable dampener has been placed on the snatch strap, the recovery vehicle should gently accelerate, building tension in the snatch strap.Then power down to get the bogged vehicle back on to the hard stuff. Smooth and steady acceleration is the name of the game.
Execute the Recovery:
When the strap reaches maximum tension, the recovery vehicle should give a slight tug to pull the stuck vehicle free. The driver of the stuck vehicle should keep the wheels straight and avoid sudden movements. Once the stuck vehicle is in motion, both drivers should ease off the accelerator and communicate to ensure a controlled recovery.
Inspect and Repeat if Necessary:
After a successful recovery, it’s crucial to inspect the snatch strap for any signs of wear or damage. If the stuck vehicle is still in a challenging situation, it may be necessary to repeat the process, adjusting the angle or position for a more effective recovery.
Safety First:
Always prioritise safety during a recovery operation. Keep bystanders at a safe distance, use appropriate safety gear, and be mindful of potential hazards. If the recovery doesn’t go as planned, reassess the situation and consider seeking professional assistance if needed.
SELF-RECOVERIES
If you’re bogged and don’t have another vehicle to give you a snatch, you can attempt to recover yourself using a few different methods. For a moderate bogging: you can get a shovel and dig all the obstacles away from your stricken vehicle, drop your tyre pressures, and lay down some recovery tracks before attempting to drive out. If you’re properly bogged and have a winch: you can liberate your spare tyre, connect it to your winch, and bury it in a deep hole. It’s a hard slog, but it works.
JOSH’S TOP TIPS
- Stay calm and think critically during recoveries. All too often, people rush through recoveries, and this is where mistakes are made.
- Avoid sharp turns and have the knowledge and tools to get a tyre back on its bead.
- Remember: Tyre pressures rise as the air inside gets warmer; check and adjust your pressures as required.
- Slow to a stop without jamming on your brakes and park in a position that makes taking off and potential recovery easier, such as pointing the vehicle downhill.
- Have your recovery boards and other gear easily accessible.
- Air back up before you hit the bitumen.